How to Capture Better Travel Photos Across Europe
Europe is basically a nonstop photo studio. One street corner looks like a movie set. Another viewpoint feels like a postcard that came to life.
Yet, here’s the truth: great scenes don’t automatically become great photos. Sometimes your images are blurry, too dark, or missing that “wow” feeling. The good news is you don’t need expensive gear. You just need smart habits, a little light knowledge, and a plan.
In this guide, we’ll explore how to capture better travel photos across Europe. We’ll cover everything from camera settings to composition tricks. Also, we’ll focus on viewpoints and hidden corners that make photos feel unreal. Let’s turn your wanderlust into gallery-ready frames.
What makes a travel photo look “professional”?
Professional-looking photos usually share a few consistent traits. First, they have clear subject focus. Second, they balance light and shadow well. Finally, they tell a story with composition.
Even if your destination is famous, you can still get unique results. A slight angle change can transform an ordinary building into a dramatic scene. Also, timing matters more than most travelers realize.
Think of each photo as three parts: subject, light, and framing. When those parts align, the image instantly feels intentional. Then, your travel photos across Europe start looking like they belong in a travel magazine.
How to use light like a pro (the easiest upgrade)
Light is the secret ingredient in Europe photography. Sunlight on stone streets looks magical, but it can also blow out highlights. Therefore, your job is to control brightness and direction.
Start by chasing soft light. Early morning and late afternoon deliver smoother shadows. Midday sun can create harsh contrast and washed-out skies. If you’re stuck with midday, look for shade and reflective surfaces.
Here are practical ways to level up your light game:
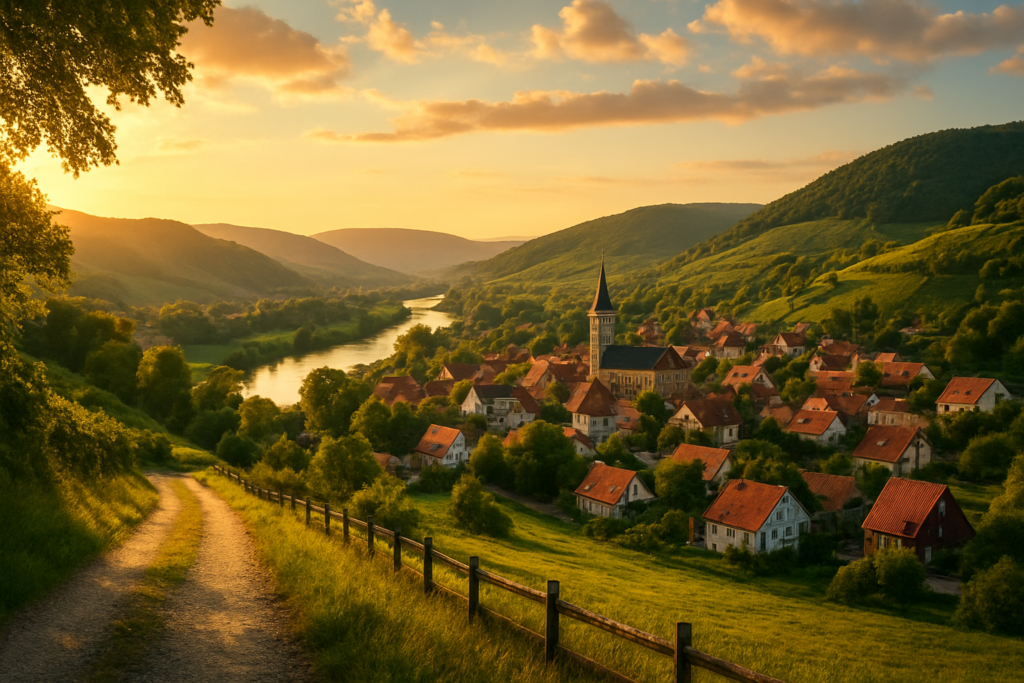
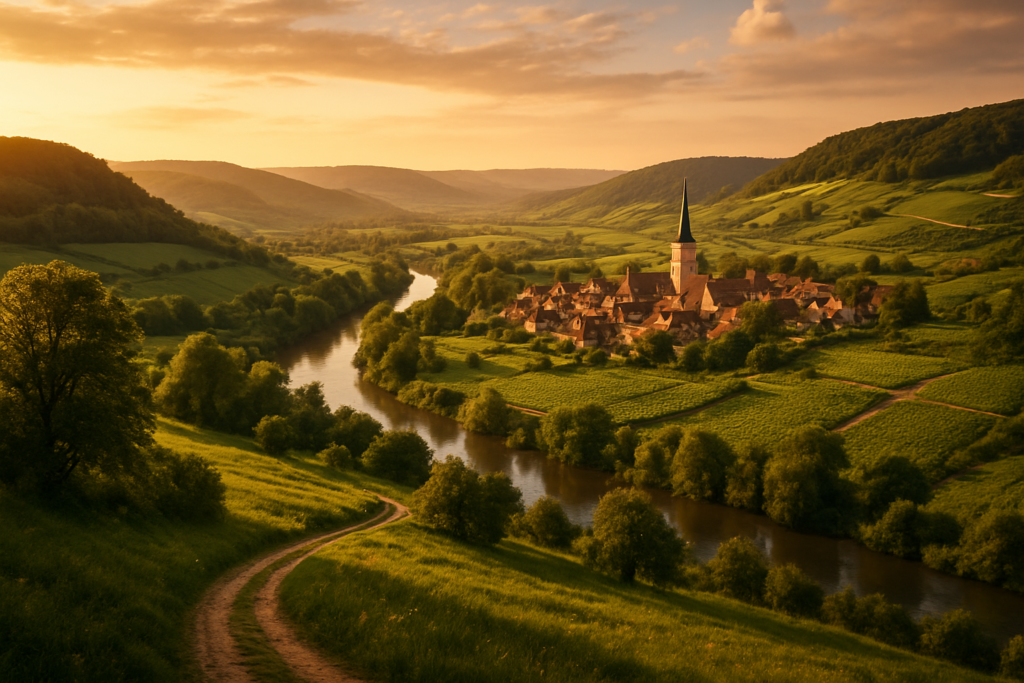
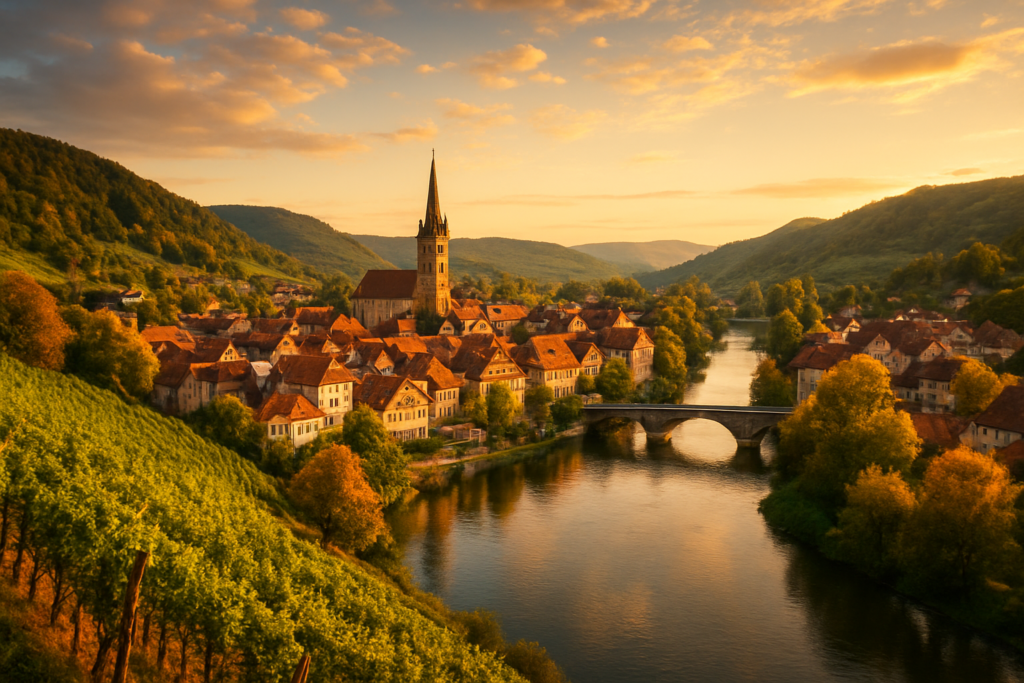
- Use golden hour for landscapes: Aim for warm tones and longer shadows.
- Try blue hour for cities: Shoot after sunset for cool, cinematic city lights.
- Protect highlights: Avoid blowing out bright windows and snow.
- Look for backlighting: It adds glow to hair, clouds, and architecture edges.
- Use the sky as a “background filter”: Find darker clouds for richer colors.
Next, pay attention to reflections. Coastal towns, canals, and wet pavement create natural “mirrors.” Then, you can capture double scenes without extra editing.
Composition tricks that instantly make photos pop
Composition is where your photos gain personality. You can photograph the same landmark as everyone else. Yet your frame can still feel fresh by using stronger structure.
First, choose a focal point. That could be a church spire, a pathway leading into fog, or a person walking through a square. Then, build the frame around that point.
Try these composition techniques while exploring European viewpoints and hidden gems:
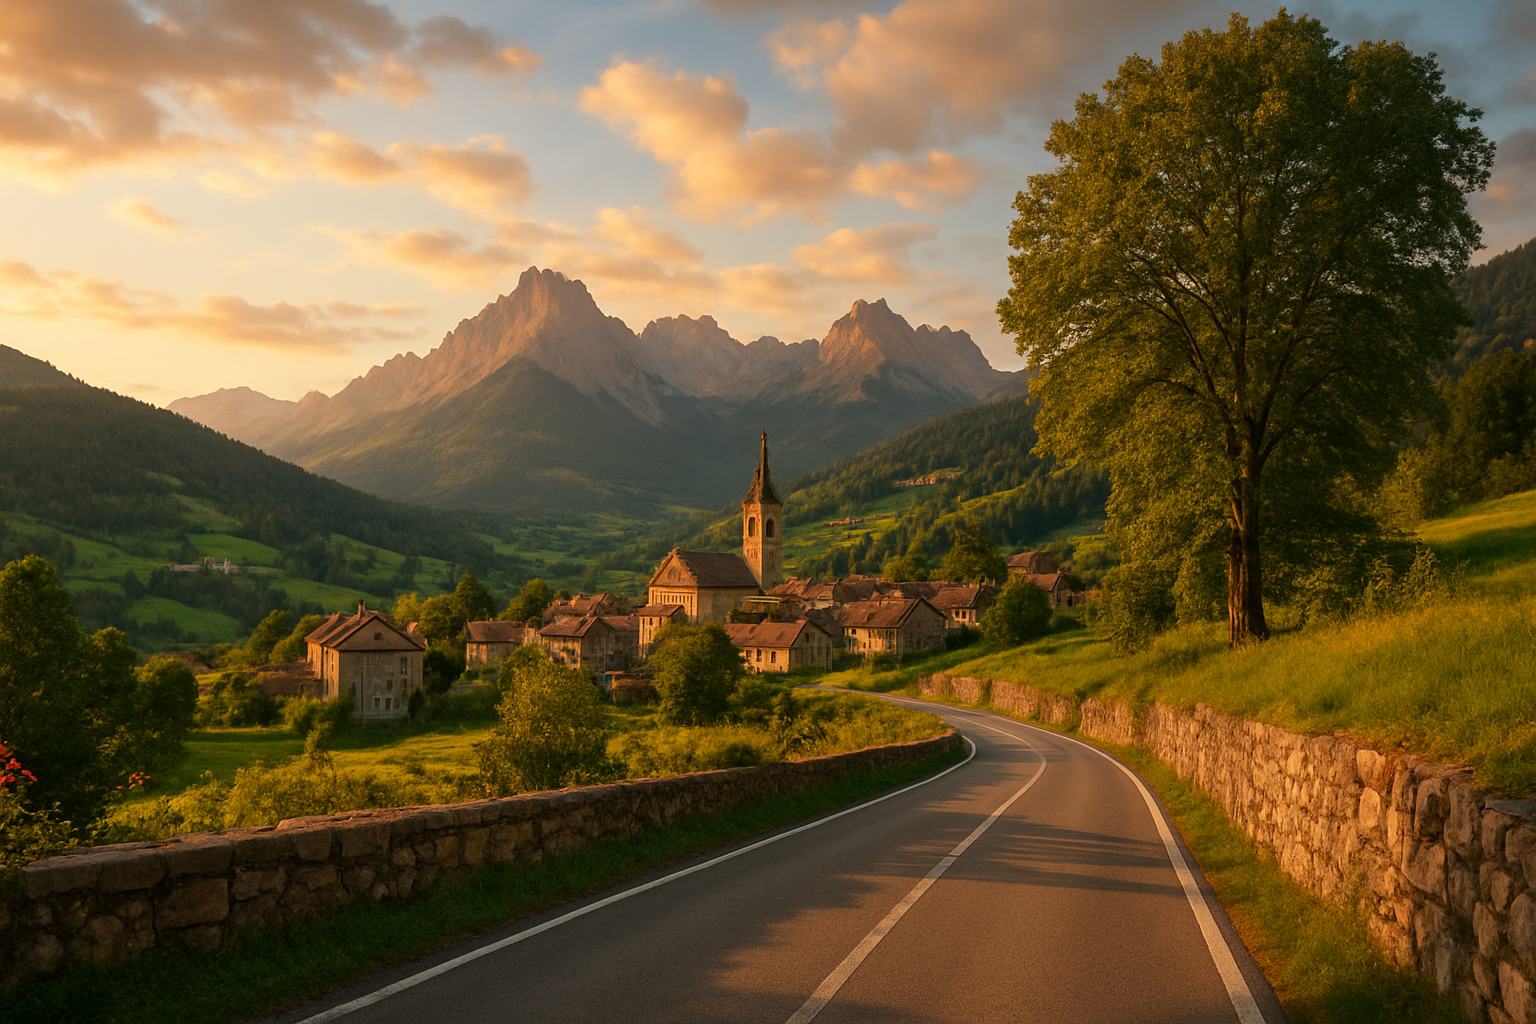
- Use leading lines: Roads, tram tracks, and river edges guide the eye.
- Follow the rule of thirds: Place key elements off-center for balance.
- Layer your scene: Foreground, middle, and background add depth.
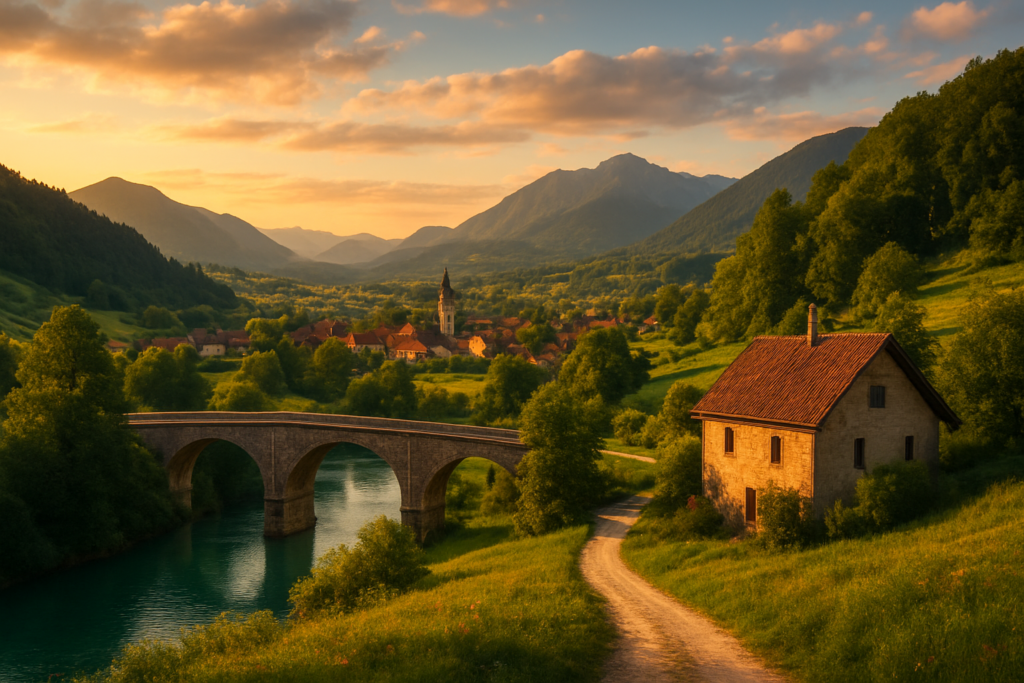
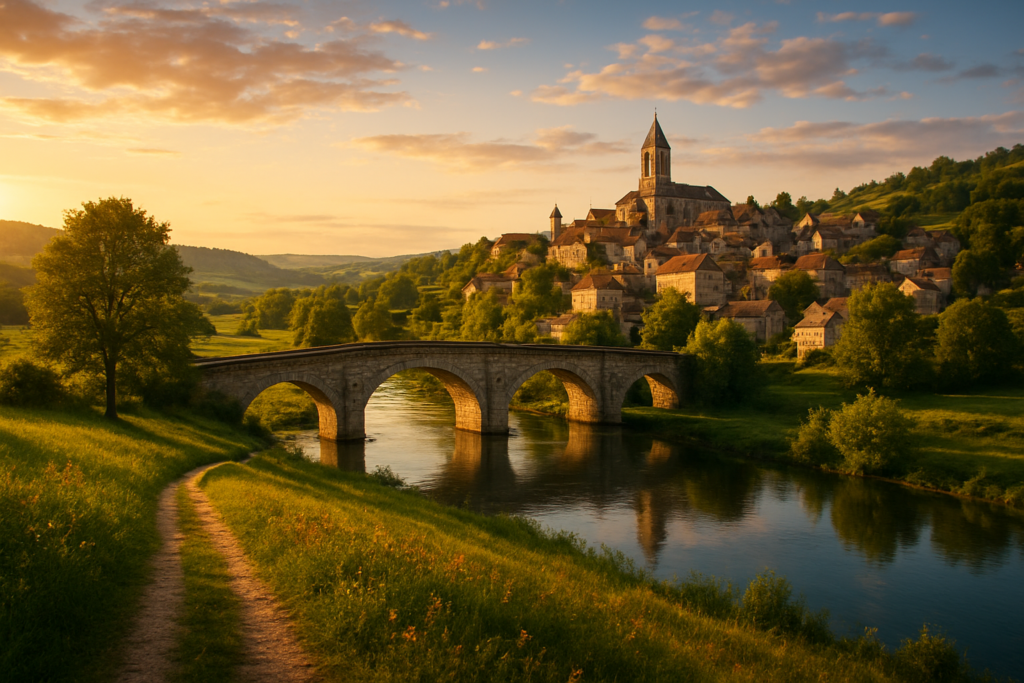
- Frame with architecture: Doorways, arches, and bridges create natural borders.
- Include scale: Add a person or a small boat to show size.
- Shoot from unusual angles: Get lower for dramatic buildings or higher for patterned streets.
Additionally, don’t forget negative space. A simple sky or quiet wall can make busy streets look elegant. It’s a fast way to reduce clutter. And it helps your subject stand out.
Better settings for sharper, cleaner images
You don’t need to memorize camera jargon. However, understanding a few basics will drastically improve sharpness and exposure. If you’re using a smartphone, you can still apply these ideas.
Start with stability. Blurry photos often come from shaky hands. Therefore, use both hands and steady your stance. If possible, rest your elbows or use a small support like a wall or railing.
Then, manage motion. People walking, boats moving, and wind-blown hair create blur. You can reduce blur with a faster shutter speed or burst mode.
Here are easy guidance points by situation:
- Landscapes: Use low ISO, and consider f/8–f/11 on cameras.
- City streets: Watch shutter speed during night scenes.
- Moving subjects: Use burst mode and track focus when available.
- Bright days: Lower exposure if skies blow out.
- Night scenes: Keep ISO reasonable to avoid heavy noise.
If you want a simple workflow, shoot in RAW on a camera. It gives you more editing flexibility for highlights and shadows. On a phone, use the highest-quality setting and avoid over-aggressive filters.
How to photograph Europe’s viewpoints without the “tourist trap” look
Europe viewpoints are famous for a reason. Yet popular spots can feel crowded, and your photos may look flat if you shoot from the exact same level. Fortunately, you can fix this quickly.
First, arrive earlier than the crowd. Sunrise and late afternoon provide natural color and fewer people. Also, you can explore nearby side paths for a less obvious angle.
Second, use different focal lengths. If you’re using a camera, a wide lens adds drama. Meanwhile, a longer lens compresses distance for a postcard effect.
Third, make the viewpoint yours. Look for foreground elements like rocks, fences, trees, or railings. Then compose your frame so those objects lead into the distance.
If you want extra inspiration for viewpoints, take a look at 15 Viewpoints in Europe That Feel Unreal. It’s perfect for planning photo routes that won’t feel repetitive.
Hidden places that make your travel photos feel unique
The best travel photos often avoid the “default angle.” They capture details that most people miss. That’s why hidden places are gold for photographers.
Try looking for small, photogenic moments instead of only big monuments. A doorway with vibrant paint can outperform a wide shot. A quiet alley can feel cinematic even without famous signage.
Here are great “hidden photo categories” across Europe:
- Riverside paths and canals: Look for reflections and bridges.
- Old staircases and alleys: Seek repeating patterns.
- Local markets: Photograph hands, produce colors, and signage.
- Courtyards: They offer symmetry and sheltered light.
- Viewpoints slightly off-center: Side terraces often have fewer crowds.
In addition, research neighborhoods, not just attractions. Then, build a walking route that follows light and elevation. You’ll discover photo angles organically.
Is it better than Y? Camera vs smartphone photography
This is a common question, and the answer is refreshingly simple. Smartphones are often better for convenience and speed. Cameras are often better for control and image quality in tough light.
So instead of choosing one, focus on your goal. If you want quick memories and easy sharing, a smartphone is fantastic. If you want advanced settings, lenses, and editing flexibility, a camera shines.
Here’s a quick comparison:
- Smartphone: Great HDR, easy editing, always with you.
- Camera: Better low-light performance and creative control.
- Lens flexibility: Camera lenses help for compression and detail.
- Stability: Cameras benefit from tripods and steadier handling.
Whatever you use, your technique matters more than gear. Good timing and strong composition will upgrade any device. Then, you’ll create “better travel photos across Europe” with confidence.
Can beginners use these photo tips in Europe?
Absolutely. You don’t need expertise to start producing stunning images. Beginners often worry about settings, but you can improve quickly with simple habits.
Start with a “three photo rule” for each location. Take one wide shot, one closer shot, and one detail shot. This prevents your album from becoming repetitive.
Next, use the built-in grid on your phone or camera. It helps you apply the rule of thirds. Then, focus on steady hands and clean framing.
If you’re photographing people, ask for consent and respect privacy. Then capture natural moments: walking, laughing, or pausing for scenery. Candid storytelling usually looks more authentic than forced poses.
Finally, practice at the destination you know best. Even if you’re a beginner, you can test techniques during daily walks. Then, you’ll be ready when the “wow” moment appears.
A simple photo plan for every Europe trip day
If you want consistent results, use a daily structure. It keeps you from chasing random shots all day. Also, it ensures you capture both iconic scenes and hidden details.
Try this plan when you’re moving between cities:
- Morning: Shoot landscapes and quieter streets.
- Midday: Capture textures, interiors, and shadow patterns.
- Late afternoon: Focus on viewpoints and golden-hour portraits.
- Night: Go for city lights, reflections, and slower shutter experiments.
Then, end your day with a quick review. Delete the blurry shots and keep your favorites. This tiny habit makes your editing process much easier later.
How to edit without ruining your photos
Editing is where travel photos gain polish. However, it’s easy to overdo it. Therefore, aim for natural improvements, not extreme transformations.
First, correct exposure. Then adjust highlights and shadows for balanced contrast. Next, refine white balance so colors look realistic.
Finally, sharpen lightly. If the image looks crunchy, reduce sharpening. Then, check whether colors match the scene you remember.
If you love sunsets and dramatic skies, you’ll probably enjoy These Sunset Views in Europe Will Change Your Life. It’s great for planning golden-hour shoots and practicing edits that respect the mood.
Key Takeaways
Here’s the bottom line. Great travel photos across Europe come from intentional choices. Light, composition, and stability matter more than gear.
- Chase golden hour and blue hour for instant magic.
- Use leading lines and layered framing for depth.
- Stabilize your camera and watch shutter speed.
- Arrive early at viewpoints for unique angles.
- Build a daily photo plan: morning, midday, sunset, night.
Most of all, keep exploring. Europe rewards curiosity, and your camera will thank you. Now grab your bag, head to the next viewpoint, and capture the continent like it’s meant for you.